Flutter Row Tutorial
Flutter Row widget displays its children in an array that is horizontally aligned with the device screen.
Following is a quick code snippet to use Row widget.
Row(
  children: <Widget>[
    //widgets here
  ],
)
Example: Flutter Row widget
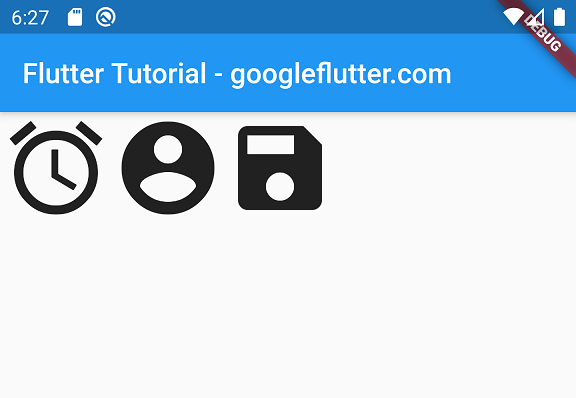
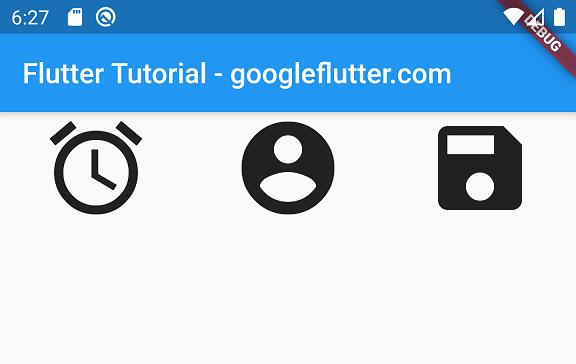
In this example, we shall place a Row widget with some children.
main.dart
import 'package:flutter/material.dart';

void main() {
  runApp(MaterialApp(
    home: MyApp(),
  ));
}

class MyApp extends StatefulWidget {
  @override
  _State createState() => _State();
}

class _State extends State<MyApp> {
  @override
  Widget build(BuildContext context) {
    return Scaffold(
      appBar: AppBar(
        title: Text('Flutter Tutorial - googleflutter.com'),
      ),
      body: Row(
        children: <Widget>[
          Icon(
            Icons.access_alarm,
            size: 80,
          ),
          Icon(
            Icons.account_circle,
            size: 80,
          ),
          Icon(
            Icons.save,
            size: 80,
          ),
        ],
      ),
    );
  }
}
Screenshot
Flutter Row with Expanded Children
Tutorial: Flutter Row with Expanded Children
Summary
In this Flutter Tutorial, we learned how to use Row widget, with the help of well detailed example Flutter Application.