Apply Padding around Image in Flutter
In this tutorial, we will learn how to apply padding around an Image.
You can apply padding for an image, by wrapping the Image widget in a Padding widget.
Sample Code Snippet
Following is a quick sample code snippet you can use for padding around an Image in Flutter.
Padding(
  padding: EdgeInsets.all(30),
  child: Image.network('https://googleflutter.com/sample_image.jpg'),
)
Example
This is an example Flutter application where we display an image with padding applied to it.
To recreate this example, create a basic Flutter application and replace main.dart with the following code.
main.dart
import 'package:flutter/material.dart';
void main() {
runApp(MaterialApp(
home: MyApp(),
));
}
class MyApp extends StatefulWidget {
@override
_State createState() => _State();
}
class _State extends State<MyApp> {
@override
Widget build(BuildContext context) {
return Scaffold(
appBar: AppBar(
title: Text('Flutter Tutorial - googleflutter.com'),
),
body: Center(
child: Column(children: <Widget>[
Text('Welcome to Flutter Tutorial on Image'),
Padding(
padding: EdgeInsets.all(30),
child: Image.network('https://googleflutter.com/sample_image.jpg'),
)
])),
);
}
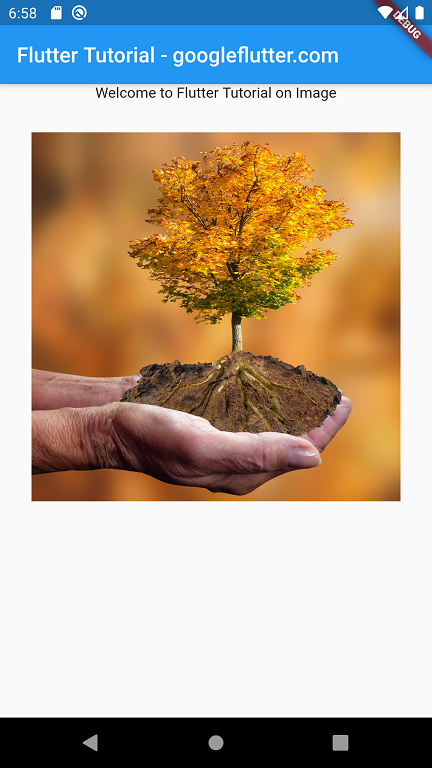
}When you run this Flutter Application, you may observe an image displayed with padding around it, as shown in the below screenshot.
Summary
In this Flutter Tutorial, we learned how to provide padding to an Image widget.