Border around Image in Flutter
In this tutorial, we will learn how to apply a border around an Image widget, with the help of an example Flutter Application.
In Flutter, you can display an image with a border. Of course you can display any widget with a border. To display an image with a border, use Container widget, around Image widget, with required border as decoration. You can also specify padding and margin using Container widget.
Sample Code Snippet
Following is a sample code snippet to show border around an image using Container widget and its decoration property.
Container(
  decoration: BoxDecoration(
	border: Border.all(
	  width: 2,
	),
  ),
  child: Image.network('https://googleflutter.com/sample_image.jpg'),
),
You can change the width as per your requirement.
Example
This is an example Flutter application to demonstrate how to display an image with border around it, in your Flutter application.
To recreate this example application, create a Flutter application and replace main.dart with the following code.
main.dart
import 'package:flutter/material.dart';
void main() {
runApp(MaterialApp(
home: MyApp(),
));
}
class MyApp extends StatefulWidget {
@override
_State createState() => _State();
}
class _State extends State<MyApp> {
@override
Widget build(BuildContext context) {
return Scaffold(
appBar: AppBar(
title: Text('Flutter Tutorial - googleflutter.com'),
),
body: Center(
child: Column(children: <Widget>[
Text('Welcome to Flutter Tutorial on Image'),
Container(
decoration: BoxDecoration(
border: Border.all(
width: 5,
),
),
child: Image.network('https://googleflutter.com/sample_image.jpg'),
),
])),
);
}
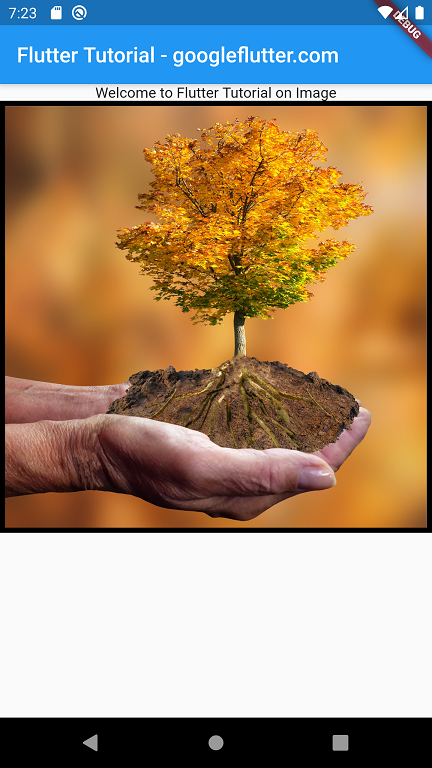
}When you run this application on an Android Device or Emulator, you should something similar to the following screenshot, an Image with border of width 5.
Let us provide some padding, margin and change the border color.
import 'package:flutter/material.dart';

void main() {
  runApp(MaterialApp(
    home: MyApp(),
  ));
}

class MyApp extends StatefulWidget {
  @override
  _State createState() => _State();
}

class _State extends State<MyApp> {

  @override
  Widget build(BuildContext context) {
    return Scaffold(
      appBar: AppBar(
        title: Text('Flutter Tutorial - googleflutter.com'),
      ),
      body: Center(
          child: Column(children: <Widget>[
            Text('Welcome to Flutter Tutorial on Image'),
            Container(
              padding: EdgeInsets.all(20),
              margin: EdgeInsets.all(20),
              decoration: BoxDecoration(
                borderRadius: BorderRadius.circular(30),
                border: Border.all(
                  color: Colors.brown,
                  width: 10,
                ),
              ),
              child: Image.network('https://googleflutter.com/sample_image.jpg'),
            ),
          ])),
    );
  }
}
When we run this application, we will get the UI, as shown in the following screenshot.

Play around with the properties of Container to tweak the border around image as required for your application.
Summary
In this Flutter Tutorial, we learned how to display border around an image in Flutter Application.